next主题页面基础设置

对next主题进行基础修改

参考网站:next官方next使用文档

1.侧边栏

1.1基本信息

站点路径下~/blog:vi _config.yml或直接文件夹打开
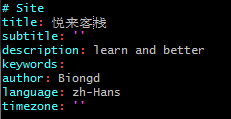
1.2设置头像,样式等信息

~/themes/next:vi _config.yml或直接文件夹打开

将图片添加到images文件夹下,去掉avatar的井号就OK了

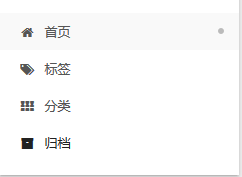
1.3增加tags和categories

第一步 需要新建tags和categories页面hexo new page tags //新建tags页面

然后配置categories 文件夹下的index.md

1
2
3
4
title: categories
date: 2020-01-10 16:15:43
type: "categories"
layout: "categories" #增加categories的布局

第二步 给自己的帖子新加配置,增加tags和categories

1
2
3
4
title: hexo categories和tags页面不显示解决办法
date: 2020-01-12 17:22:40
tags: 前端
categories: git/github

报错1:这样部署到github上是,访问自己的域名服务器,打开分类界面和标签界面都是404

解决:

打开theme目录下的主题配置文件_config.yml,按ctrl-f,搜索menu:,先把#去掉(可以理解为解除屏蔽)

然后把/后面的空格去掉(刚开始的时候默认后面是加了空格所以导致的点击页面出现的404)

1
2
3
4
5
6
7
8

menu:
#这/后面的空格得去掉,否则点击访问标签页和分类页的时候会404报错
home: /|| home #首页
#about: /about/ || user
tags: /tags/|| tags
categories: /categories/|| th
archives: /archives/|| archive

报错2:文件添加后本地刷新不出现

解决:重新把头部内容输入一遍(应该是格式输错了)

2.页面布置

2.1设置阅读全文

在文章中使用

1
2

<escape><!-- more --></escape>

手动进行截断,Hexo 推荐的方式

另外两中方式可见官网next使用文档

2.2取消默认的标题排序

修改主题配置文件:

img

第一步:使用 npm install --save 命令来安装需要的 Hexo 插件。

1
2
3
4

npm install --save hexo-generator-index
npm install --save hexo-generator-archive
npm install --save hexo-generator-tag

第二步:等待扩展全部安装完成后,在 站点配置文章 中,设定如下选项:

1
2
3
4
5
6
7
8
9
10
11

index_generator:
per_page: 5

archive_generator:
per_page: 20
yearly: true
monthly: true

tag_generator:
per_page: 10

per_page即文章数量

2.3页面错误显示源码

翻页符的图标未显示,将html的原代码显示出来了,如下

1
2

<i class="fa fa-angle-right"></i>

解决:在 themes\next\layout\layout_partials 下找到hexo-theme-next的翻页组件,就是pagination.swig,进行如下更改:

1
2
3

'<i class="fa fa-angle-left"></i>'改为'previous'
'<i class="fa fa-angle-right"></i>'改为'next'

2.4更改白色画布大小,标签样式,行距等

1.宽度:chrome浏览器F12查看到页面的内容宽度占比为75%,进入/source/css/_variables/目录,打开Gemini.

styl文件,对宽度选项进行修改

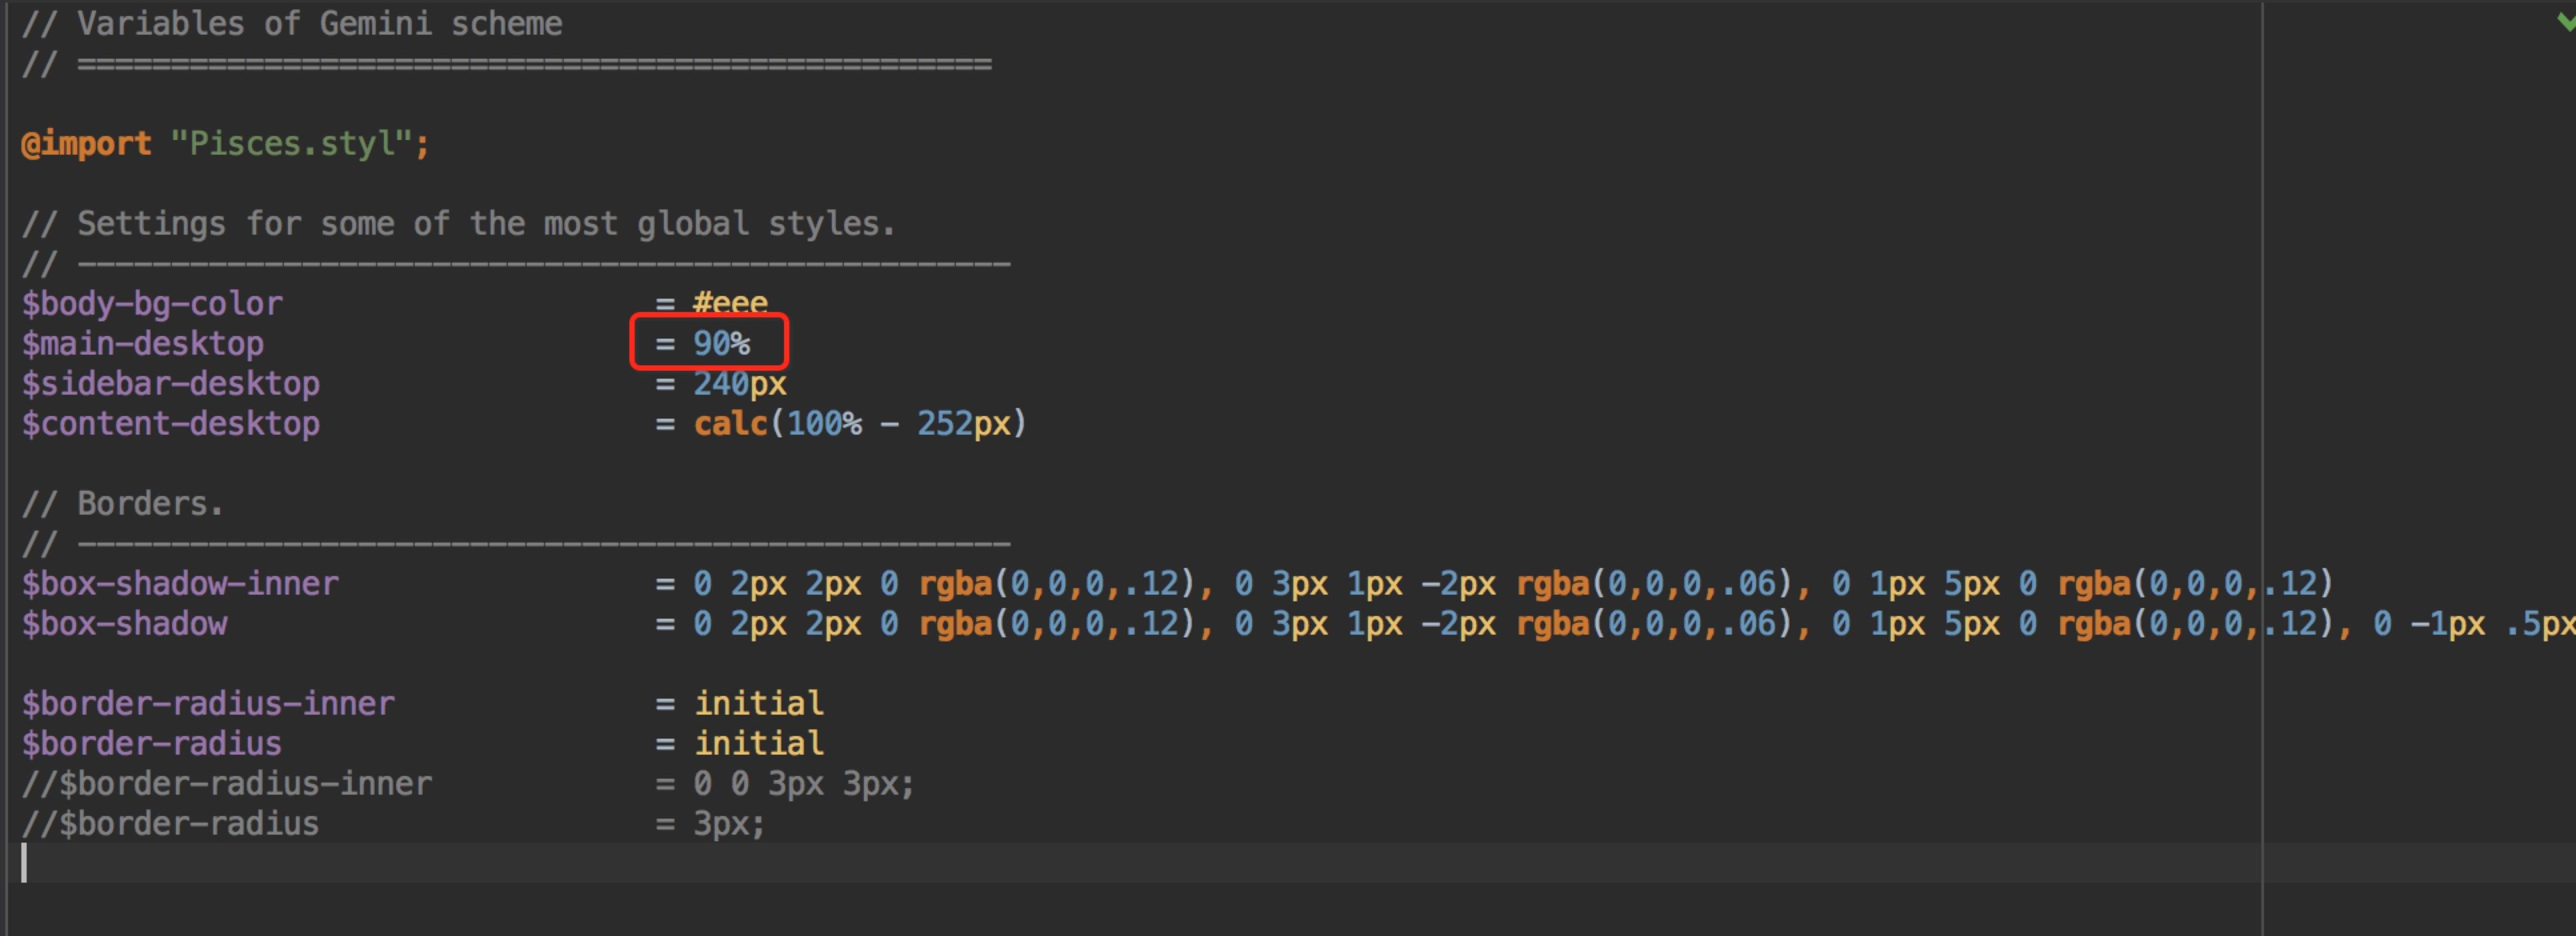
也可以设置$body-bg-color,改变页面背景色。

通过themes/next/source/css/_variables/custom.styl也可以自己添加代码
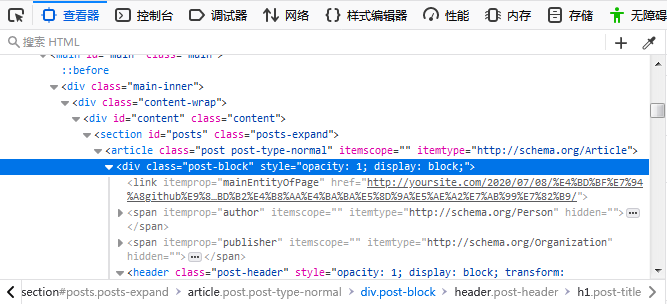
2.单个文本框高度:

对文本框的设置都可以通过外加css属性来实现

打开\themes\next\source\css\_custom\custom.styl

一开始里面什么都没有的,它是NexT主题作者留给我们用作自定义主题样式的。 向里面加入:

1
2
3
4
5
6
7
8
9
10
11
12
13
14
15
16
17
18
19
20
21
22
23
24
25
26
27
28
29
30
31
32
33
34
35
36
37
38
39
40
41
42
43
44
45
46
47
48
49
50
51
52
53
54
55
56
57
58

// Custom styles.
// 更改主页文本模块样式
//修改主页白色画布大小,把全文阅读下的空白去除一些
.post-block{
padding: 1.5% 5% 3% 5%
}
//让文字往右分布一点
.post-body{
margin-left: 1%
}
//把文字内容往上移
.posts-expand .post-meta{
margin: 0 0 0 0
}
//按钮的margin除去
.posts-expand .post-button{
margin-top: 1%
width: 100%
}
//主题的title和subtitle
.site-subtitle{
margin: 0 0 0 0
}
//归档页
.post-block.archive{
min-height: 600px
}
//设置标签的位置和样式
.tag-cloud a{
border: 1px none blue
margin: 4% 4% 3% 1%
}
.tag-cloud .tag-cloud-title{
display: none
}
.tag-cloud .tag-cloud-tags{
float: left
margin: 5%
}
//底部广告标签放手机上出错,直接砍掉
.footer-inner{
display: none
}
//把行间距调小
p{
margin: 0 0 3px 0
//加个背景,文档不透明度设成0.9
}
body{
background:url(https://source.unsplash.com/random/1600x900);
background-repeat: no-repeat;
background-attachment: fixed;
background-position: 50% 50%;
}
.content-wrap {
opacity: 0.9;
}

就可以实现对文本框及内容的更改,其中属性名可通过本地预览的F12—选择器得到

对前端知识掌握太少,这里只通过margin来调整位置,后期完成前端学习再行修改

3.状态栏设置

3.1文章置顶及添加置顶标志

  1. 卸载原插件和安装置顶插件
1
2
cnpm uninstall hexo-generator-index --save
cnpm install hexo-generator-index-pin-top --save
  1. 在文章开头添加top:true标识,比如:
1
2
3
4
5
6

title: next主题页面基础设置
date: 2020-07-08 09:52:12
tags: next主题
categories: git/github-制作图床.博客部署及主题修改.使用教程.远程.
top: true
  1. 设置置顶标志

    打开 /blog/themes/hexo-theme-next/layout/_macro 目录下的 post.swig 文件,在<span class="post-time">模块中插入如下代码:

1
2
3
4
5
6
7
"<span class="post-time">"
{% if post.top %}
<i class="fa fa-thumb-tack"></i>
<font color=7D26CD>置顶</font>
<span class="post-meta-divider">|</span>
{% endif %}
"{% if theme.post_meta.created_at %}"

坑:修改完成后在已打开的本地预览页刷新没有效果\

必须重新heox s生成本地预览

3.2添加更新日期

  1. 修改(博客主目录)/themes/next/layout/_macro/post.swig 文件,在<span class="post-time">...</span>标签后添加
1
2
3
4
5
6
7
8
9
10
11
12
13

" <time title="{{ __('post.created') }}" itemprop="dateCreated datePublished" datetime="{{ moment(post.date).format() }}">
{{ date(post.date, config.date_format) }}
</time>
{% endif %}"
{%if post.updated and post.updated > post.date%}
<span class="post-updated">
&nbsp; | &nbsp; {{ __('post.updated') }}
<time itemprop="dateUpdated" datetime="{{ moment(post.updated).format() }}" content="{{ date(post.updated, config.date_format) }}">
{{ date(post.updated, config.date_format) }}
</time>
</span>
{% endif %}

同样要重新heox s生成本地预览

  1. 根据博客配置文件中的 language 参数修改对应的语言配置文件(博客主目录)/themes/next/languages/zh_Hans.yml
1
2
post:
updated: 更新于
  1. 修改主题配置文件(博客主目录)/themes/next/_config.yml,增加一行
1
2

display_updated: true
  1. 写文章的时候可以直接在文章开头设置更新时间

    updated: 2020-01-01 12:00:00

    没有这参数的话将会显示md文件的修改日期

BUG1:页面文字重叠到一起

解决:在设计css样式时将post-body的line-height设成了10%,导致没换行文字重叠,删掉就好了,所以设置css文件的时候一定要小心

BUG2:本地预览报错 Error: filter not found: tojson

原因:mark文件内的html语句都会识别并执行,我从别处拷贝的语句(flask框架下的jinja语句)并未设置为代码形式,导致识别过程中报错,缺乏代码解释文件

解决:只用单个`符号并未生效,用代码块的格式解决问题,今后单行代码输入也采用代码块形式